Sauna foil and tape
Sauna Foil Vapour Barrier and Tape: What to Plan Behind the Wood
Understand sauna foil and tape planning, coverage calculations, compatible materials and details to check before the wood lining hides the work.
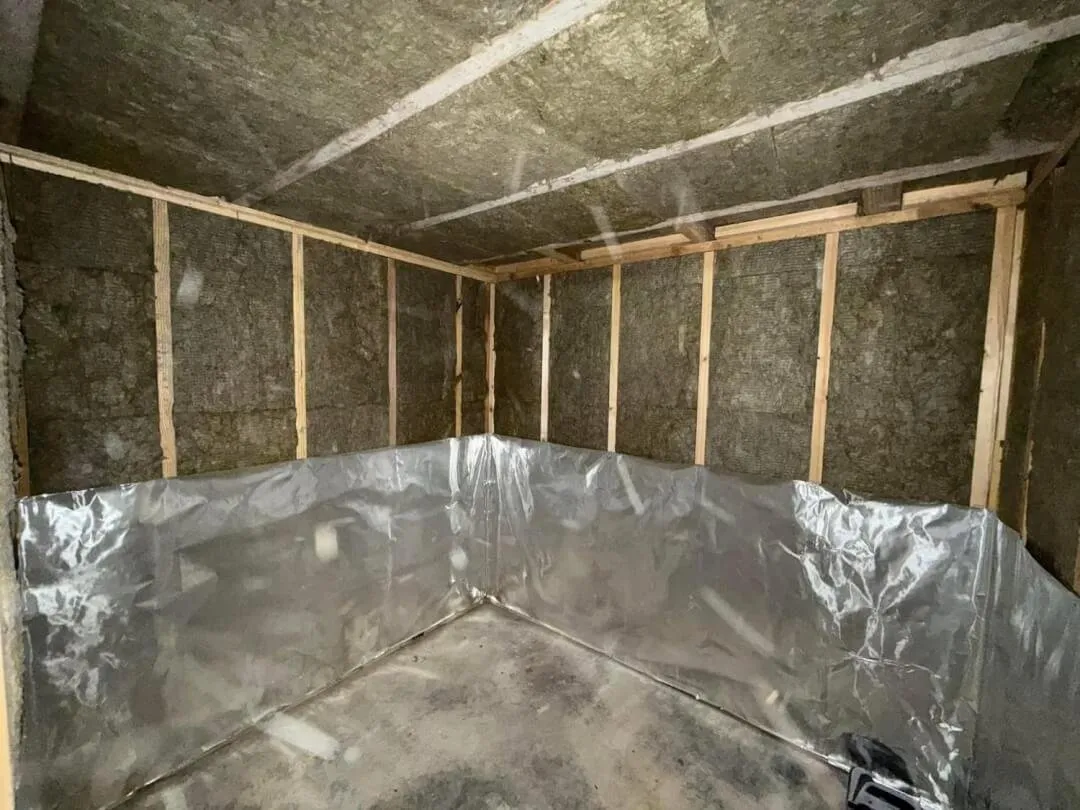
Before you begin
- Specify foil as part of the complete wall assembly; it does not replace insulation.
- Select foil and tape suited to the intended conditions and compatible with the chosen materials.
- Plan overlaps and penetrations, then inspect the work before the interior lining covers it.
The wood lining is the part of a sauna you see. Behind it, the wall and ceiling assembly needs just as much attention. Foil, tape, insulation, strapping and the details around openings should be specified together before the boards go on.
For a framed sauna that calls for foil vapour control, the useful question is not simply which roll to buy. It is how the selected materials form a continuous, correctly installed layer within that particular construction.
Understand the role of the foil in the assembly
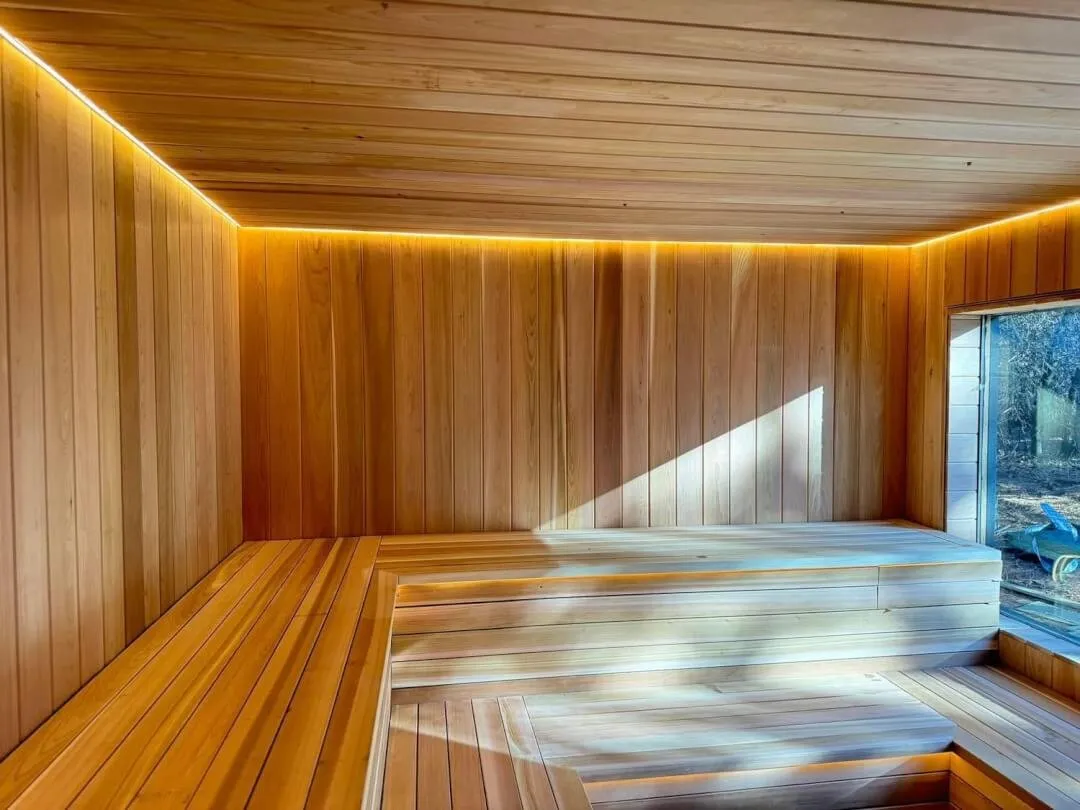
Homecraft's sauna-build guidance places foil over the insulated walls and ceiling, calls for sealed overlaps and describes strapping between foil and cedar. Those are separate components with separate roles in its construction approach. Homecraft: prepping your sauna build
Ask your builder to show each layer on a section drawing. Record where insulation ends, where foil sits and how the lining is supported. A roll sold as “sauna insulation” should not lead you to assume that the rest of the specified insulation can be omitted.
Existing rooms deserve particular care. Give the builder information about the original wall, including any existing vapour-control layers. Let the whole assembly determine the plan instead of adding layers independently.
Match the foil and tape to the intended conditions
Choose products documented for the installation. Ask for the material specification, permitted application conditions, service-temperature limits and compatible tape. The adhesive is part of the product decision, even if two rolls look similar on a shelf.
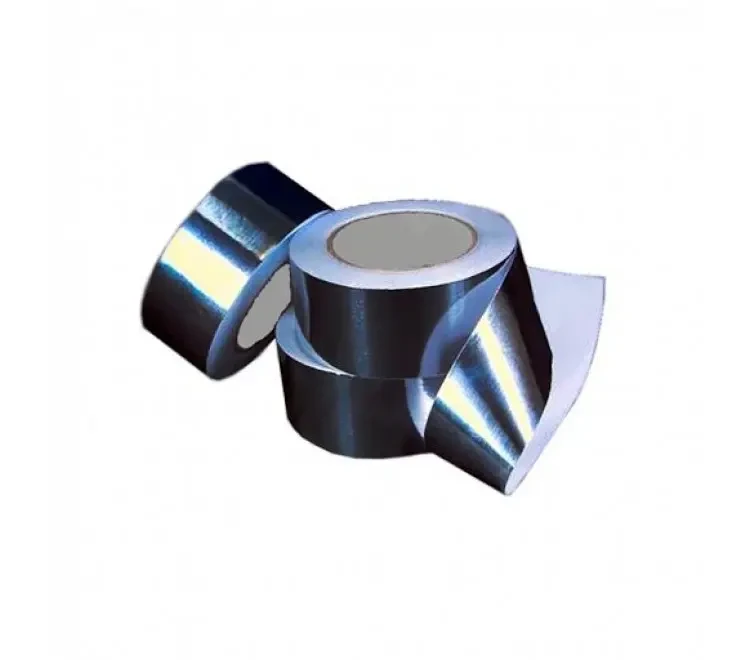
TESLI's foil-paper instructions specify the reflective face towards the room and recommend aluminium tape at the joints. Follow the instructions for the exact supplied product and the room assembly. TESLI foil-paper product guidance
ZAPARA's sauna foil and tape collection is a place to compare the required materials. Confirm roll coverage and product details in your quotation before calculating quantities.
Calculate coverage from a drawing
Start with the area to be covered according to the approved design. For an illustrative rectangular room measuring 2 × 2.2 metres with a 2.1-metre height, the four walls total 17.64 m² and the ceiling adds 4.4 m². Together that is 22.04 m² before adjusting for openings, overlaps and cutting.
That arithmetic is a planning example, not the purchase quantity. Lay out the roll widths on the drawing, add the manufacturer's required overlaps and allow for corners and offcuts. Estimate tape from the planned seams and details rather than guessing one roll of tape per roll of foil.
Ask your supplier to check the material list against your actual dimensions. Keep a little extra for the repairs and adjustments your installer anticipates.
Resolve openings and penetrations early
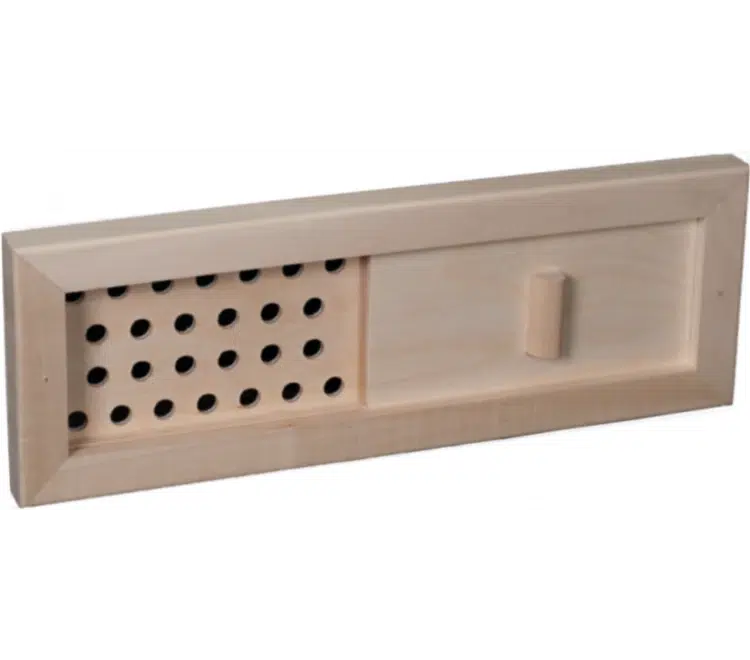
Mark the door, windows, vents, lighting and heater-related services before installation begins. Ask the trades to agree on how their work passes through the assembly and how those details will be completed.
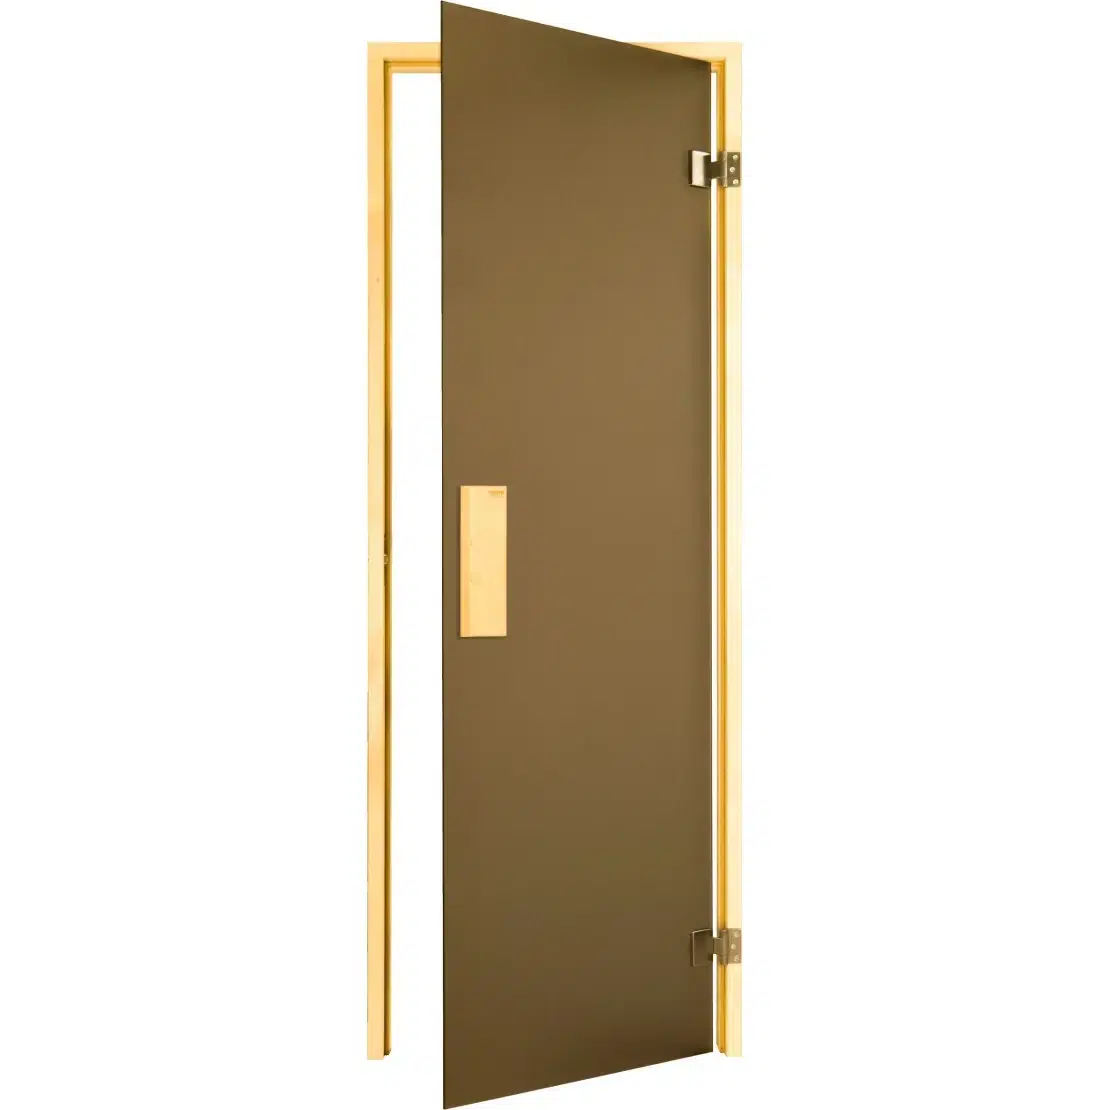
The transition at a sauna door needs to work with its frame and the surrounding wall. Vent openings must retain the air path specified by the ventilation design. Heater and chimney clearances must remain as required by their own installation instructions.
Do not treat tape as a universal solution for every construction junction. Ask for a detail appropriate to the material, temperature and function of each location.
Inspect before the lining hides the work
Arrange a review before the panelling stage. Check that the specified products were used, overlaps and joints are complete, and accidental tears have been addressed according to the product instructions. Confirm that later work will not require unnecessary cuts through the completed layer.
Photograph the corners, ceiling junctions and openings while they remain visible. Save the product labels with the images. If a future renovation exposes the wall, those records will help explain how it was built.
When ordering a DIY sauna kit, ask which parts of this assembly are included and which remain the builder's responsibility. A written answer prevents gaps between the material order and the finished room.
Frequently asked questions
Can foil replace the wall insulation?
Follow the designed assembly. In Homecraft's referenced approach, insulation and foil are separate layers. Do not remove one because the other has been described as a heat barrier.
Can I use ordinary household tape?
Use the tape specified as compatible with the foil and sauna conditions. Confirm its adhesive and application instructions with the supplier.
Does every outdoor sauna need an added foil layer?
No universal answer applies. Follow the construction instructions for the exact sauna. A supplied solid-wood kit should not be modified to resemble a framed-wall design without manufacturer review.
Is sauna foil a complete steam-shower waterproofing system?
Do not assume so. A steam shower needs its own specified assembly and products. Confirm that system with the designer rather than transferring sauna-lining details to a different application.
Sources
- Homecraft Saunas. Prepping your sauna build. Undated. Accessed September 9, 2026.
- TESLI. Foil paper 30 m × 1010 mm. Undated. Accessed September 9, 2026.