Sauna ventilation
Sauna Ventilation: What to Plan Before You Close the Walls
Plan sauna ventilation before closing the walls. Understand heater-specific air routes, sensor placement, vent covers and after-use drying.
Before you begin
- Plan the complete air path for the selected heater and ventilation method before closing the walls.
- Coordinate intake and extraction positions with the temperature sensor and any wood-stove air requirements.
- Select vent covers after the openings are specified, and include a practical drying routine.
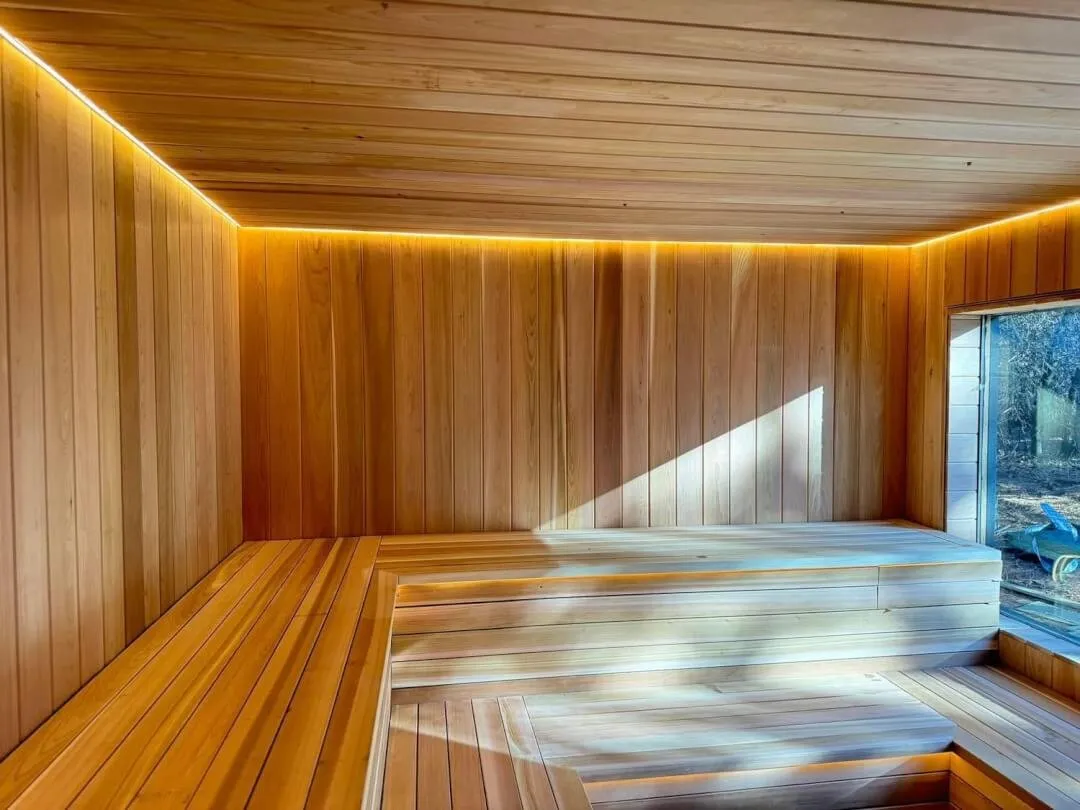
Sauna ventilation is easier to get right while the walls are open. At that stage, you can coordinate the heater, benches, door, ducts and any temperature sensor. Once the panelling is finished, even a small change can mean cutting through a carefully completed room.
The first decision is which ventilation arrangement your heater and room require. A photograph of another sauna cannot answer that. Start with the current instructions for your exact equipment and use them to create a plan your installer can review.
Establish which system you are designing
Tell your installer whether the sauna uses an electric heater or a wood-burning stove, and whether air movement will be natural or mechanical. Harvia's ventilation guidance treats these combinations separately and gives different inlet and outlet arrangements. Harvia: ventilation in the sauna
That distinction explains why online diagrams can appear to disagree. They may describe different equipment or ventilation methods. Do not combine the inlet from one diagram, the outlet from another and the fan from a third.
Homecraft's current ventilation guide also distinguishes between its classic H-series and newer heater designs when discussing inlet positions. It explicitly treats its diagrams as a baseline to adapt to the room. Homecraft ventilation guide
Write the intended system on the drawing. If a contractor suggests changing it, have the complete arrangement reviewed before work continues.
Follow the air from beginning to end
Draw arrows showing where supply air enters, how it reaches the occupied room and where exhaust air ultimately goes. Label the destination beyond the sauna wall. “Vent on the back wall” is incomplete if nobody has decided what sits behind that wall.
For an indoor sauna, discuss the connection with the surrounding home. For an outdoor sauna, identify the exterior openings and their exposure to weather. In both cases, the proposal should show a complete air path, not simply two attractive wooden covers.
Make a short schedule listing each opening's purpose, position, duct or opening specification, cover and adjustment method. Your installer can then check the components against the approved design.
Coordinate ventilation with the temperature sensor
For heaters using a separate sensor, its location belongs on the ventilation drawing. Harvia cautions against directing supply air so that it cools the sensor and says the sensor must remain in the location specified by the heater instructions. Harvia ventilation guidance
Do not solve a layout clash by casually relocating the sensor. Show the installer the heater, sensor, supply opening and benches together. Ask for a coordinated solution before drilling.
The same principle applies when the heater model changes during a project. A new heater can require another review even if the room dimensions remain the same.
Treat a wood stove's air supply as part of the installation
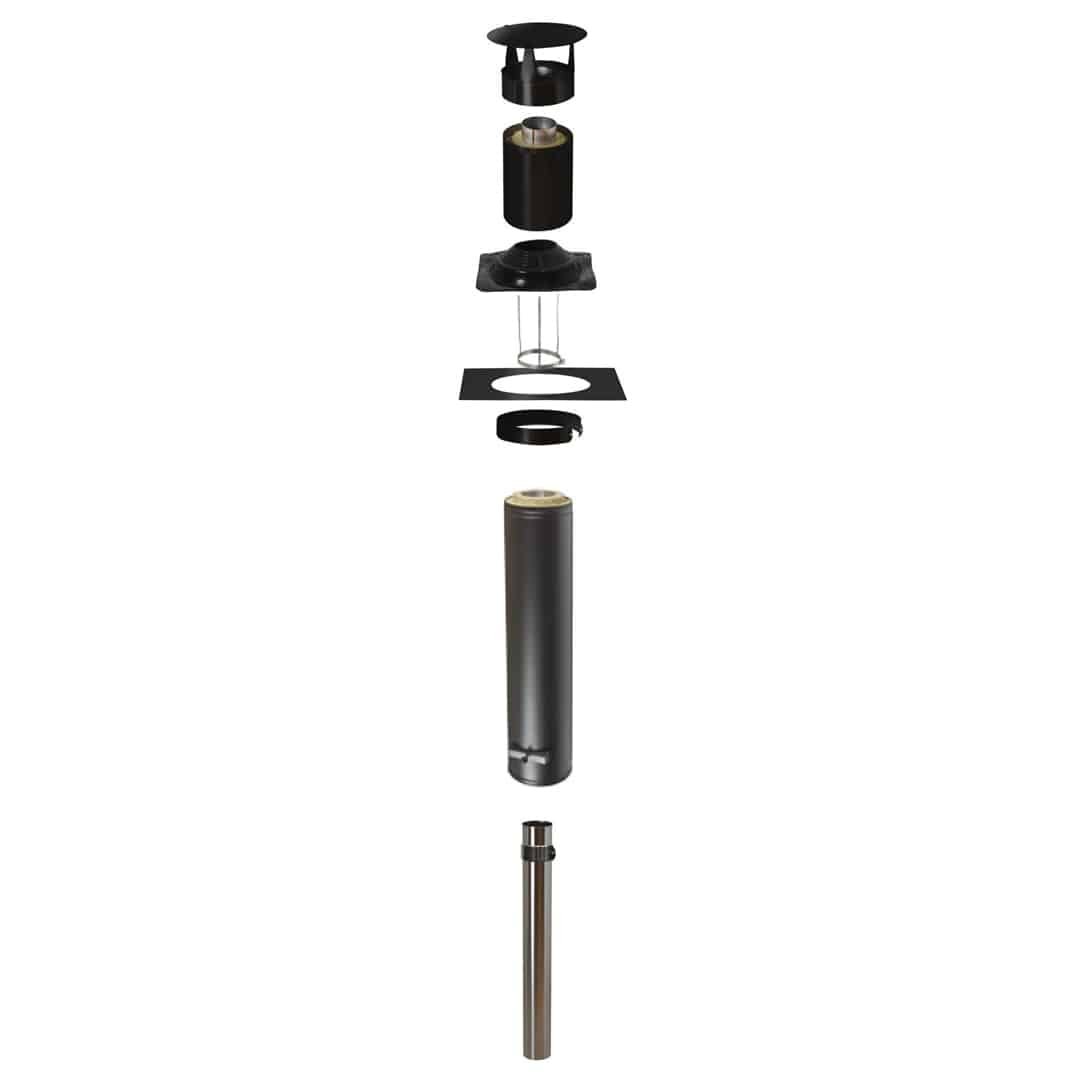
A wood-fired sauna needs a coordinated stove, chimney and ventilation design. HUUM's HIVE Wood manual specifically warns that forced extraction can interfere with combustion and requires specialist supervision for such a system. HUUM HIVE Wood instructions, p. 8
Before adding an exhaust fan, show the stove professional the proposed fan and any nearby extraction equipment. A fan selected for a bathroom is not automatically a suitable answer for a wood-fired hot room.
Keep this discussion with the person responsible for the whole combustion installation. Air supply, chimney performance and extraction should be assessed together.
Select vent covers after the opening is specified
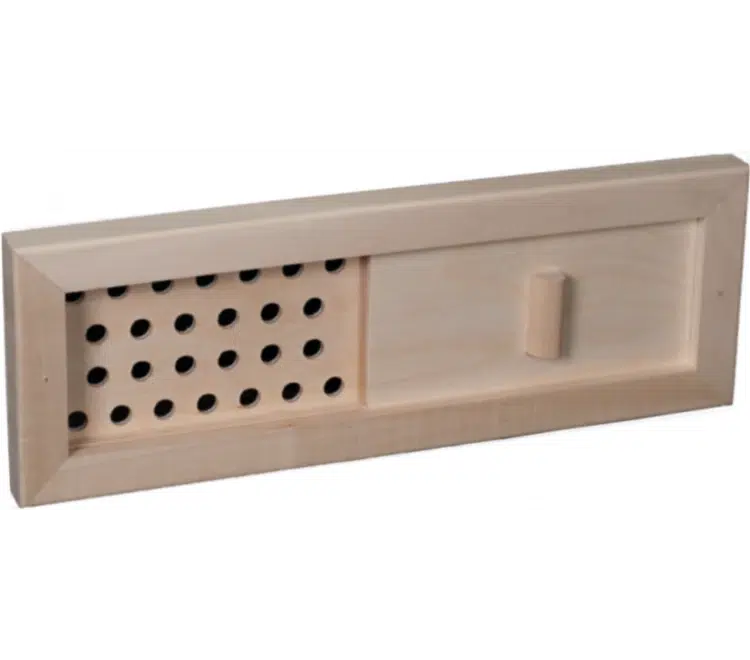
The cover is the visible part of the system. Choose it after the installer has specified the required opening and airflow arrangement. Confirm how much the cover can open, whether you can reach it and whether benches or backrests will obstruct it.
ZAPARA's sauna vent collection includes circular and rectangular covers. Match the selected item to the planned opening; a product's diameter alone does not settle the ventilation design.
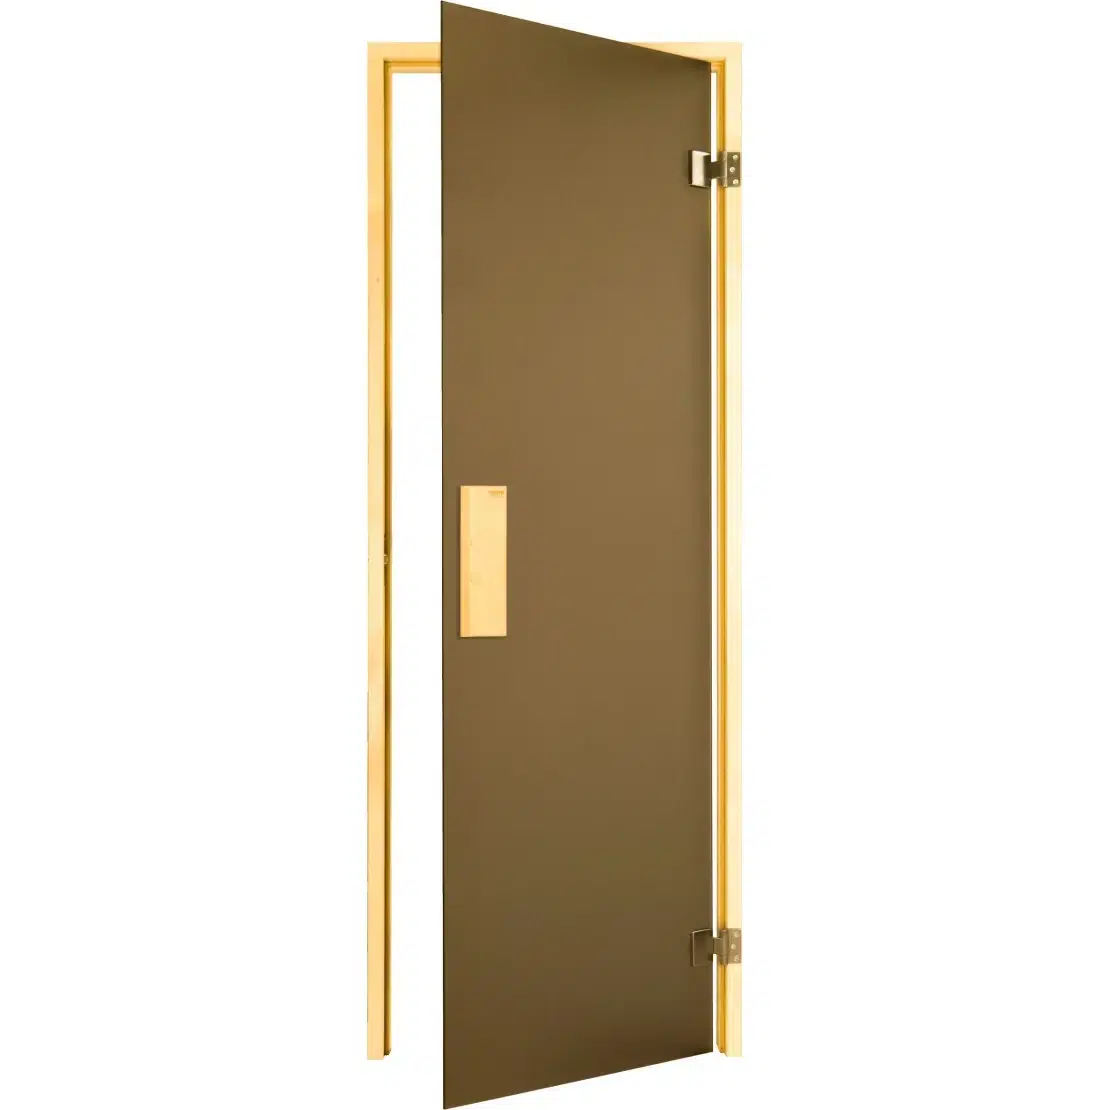
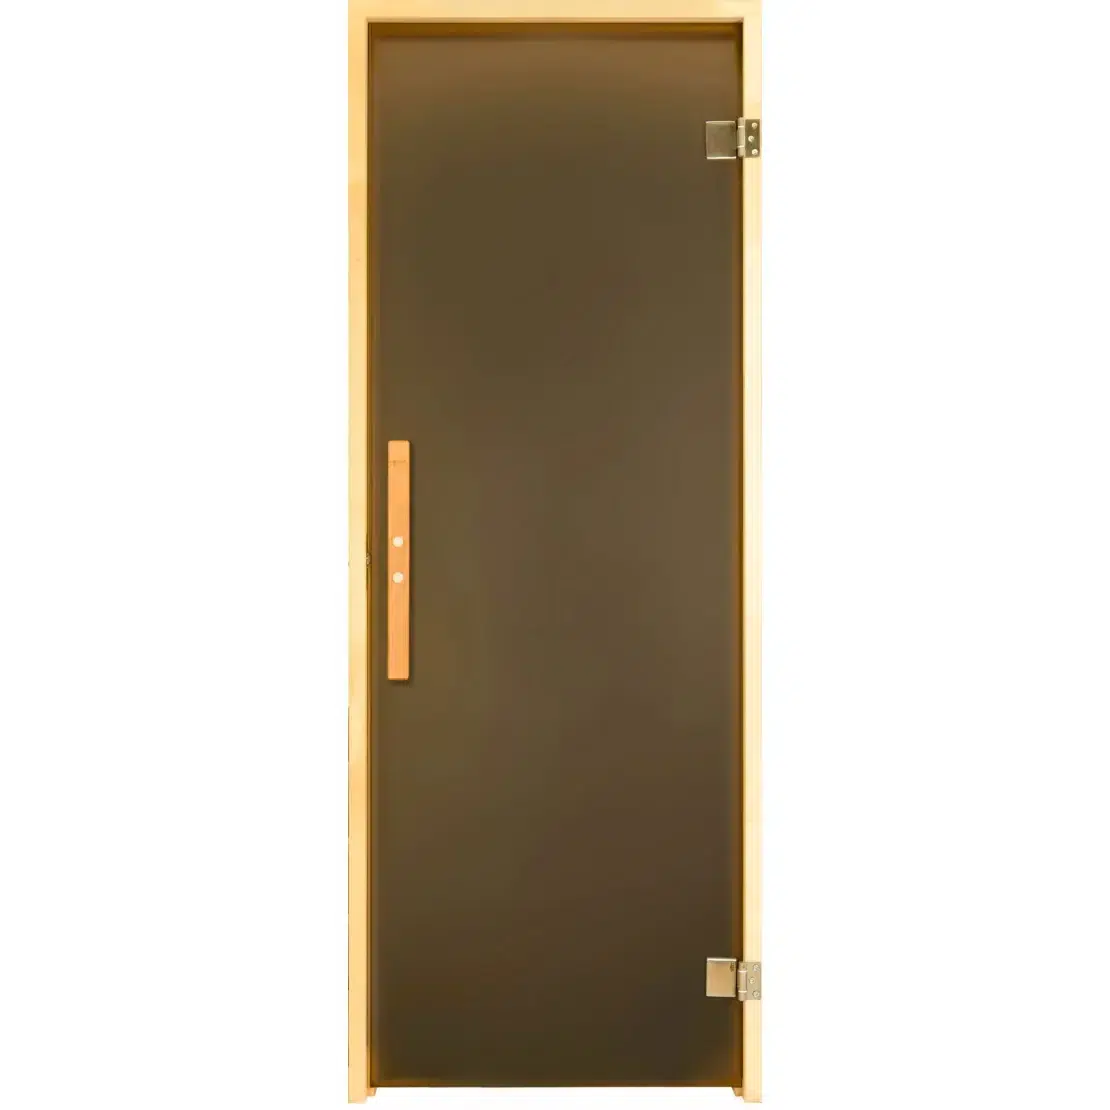
Coordinate the sauna door at the same time. Ask whether its specified undercut or vents are part of the air path before adding seals or changing the threshold.
Plan the drying routine
Ask your installer to explain the settings for heating, bathing and drying after use. Record them in plain language near your operating instructions. If different openings have different jobs, label them so another family member can use the room correctly.
Before closing the walls, photograph the duct routes, supports and wiring locations. Keep the pictures with the product manuals. Start with ZAPARA's heater manual library, then confirm that the selected guide matches your model and Canadian installation.
Frequently asked questions
Should the sauna air inlet be high or low?
That depends on the heater and ventilation method. Use the arrangement specified for your system. A location that works in one design may be wrong in another.
Can I keep more heat by closing every vent?
Do not defeat the ventilation required by the installation. Have the installer show you the intended operating positions instead of adjusting the system solely by the thermometer reading.
Is an opening window enough ventilation?
Do not assume so. An opening window may have a useful role, but the room still needs a defined ventilation arrangement matched to its heater and normal use.
What should I bring to a ventilation review?
Bring the heater and controller model numbers, room dimensions, bench layout, door details and a sketch of the proposed air routes. Include any fans that could affect the room.
Sources
- Harvia Support. Ventilation in the sauna. Updated January 29, 2026. Accessed September 9, 2026.
- HUUM. HIVE Wood installation and user instructions, H1008L04 v9, p. 8. Publication date not stated; accessed September 9, 2026.
- Homecraft Saunas. Ventilation with your Homecraft heater. Undated; current file linked from the official Homecraft Resources page and accessed September 9, 2026.