DIY sauna kits
Planning a DIY Sauna Kit: What to Decide Before You Order
Plan a DIY sauna kit with clear inclusions, room dimensions, heater selection, doors and wall details. Know what to confirm before ordering.
Before you begin
- Confirm exactly what the kit includes and budget separately for any excluded equipment or work.
- Draw the finished room, benches and door before finalizing the heater and material order.
- Coordinate the wall assembly, ventilation and service routes before installing the interior lining.
A DIY sauna kit becomes much easier to compare when you know exactly what it includes. One quotation may cover interior lumber and benches; another may also include a heater, door, lighting or accessories. Neither description tells you what building work still needs to happen at your property.
Before ordering, create a room plan and a written list of inclusions. Those two documents are more useful than an early price based only on the size of the room.
Define what “kit” means for your project
Separate the project into the building or existing room, the sauna interior, the heating system and the installation work. Ask who supplies and installs each part.
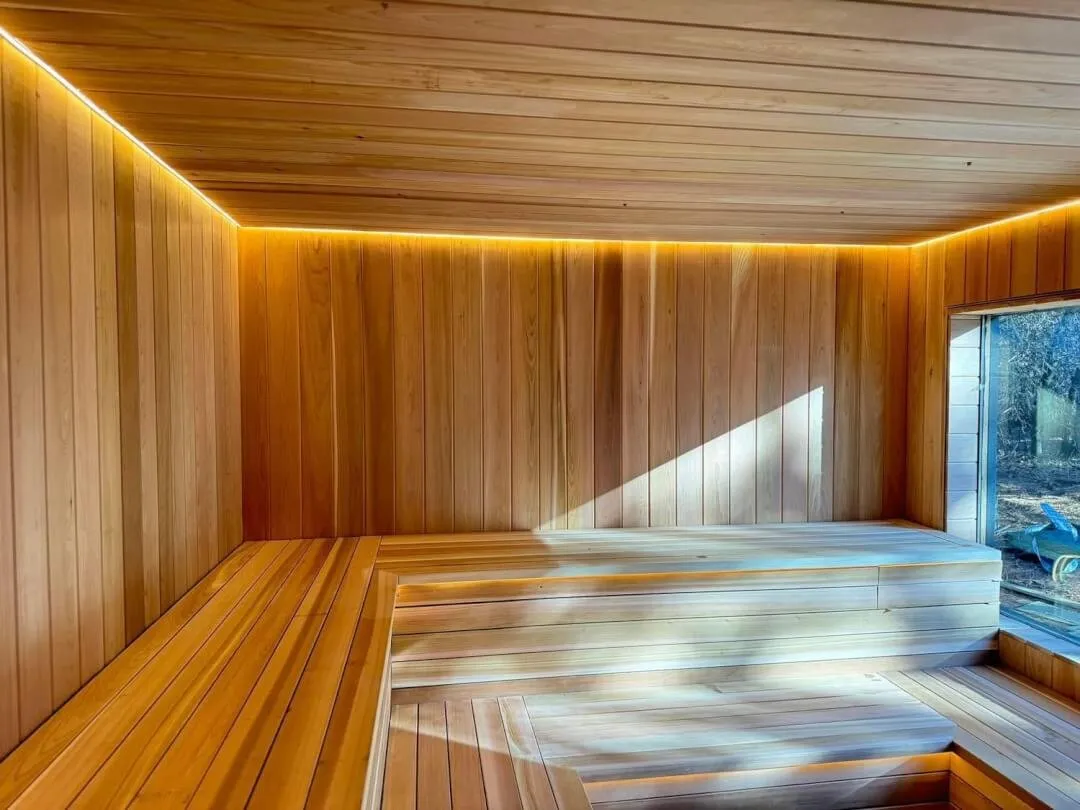
ZAPARA's Indoor DIY Sauna Kits page brings together sauna photos, room layouts and a 3D configurator. Compare your selected materials and equipment in the estimate, then request an itemized quote confirming the kit contents, available lengths and delivery. Plan room preparation, electrical work and installation separately.
For your own checklist, include delivery, carrying materials to the installation area, storage before assembly and disposal of packaging. These details are easy to overlook when comparing material prices.
Draw the room around the people using it
Mark the benches, steps, door swing and heater on a scaled sketch. Decide how many people should sit comfortably in your usual session, and whether anyone wants room to lie down. A generous-looking floor area can disappear quickly once the doorway and heater area are reserved.
Draw a side view too. It helps you think through bench levels, headroom and the finished ceiling. Bring the drawing to the supplier before finalizing lumber quantities.
Use finished interior measurements in your heating discussion. Keep the existing rough room measurements separately so the builder can account for the complete wall and ceiling assembly.
Choose the heater before closing the walls
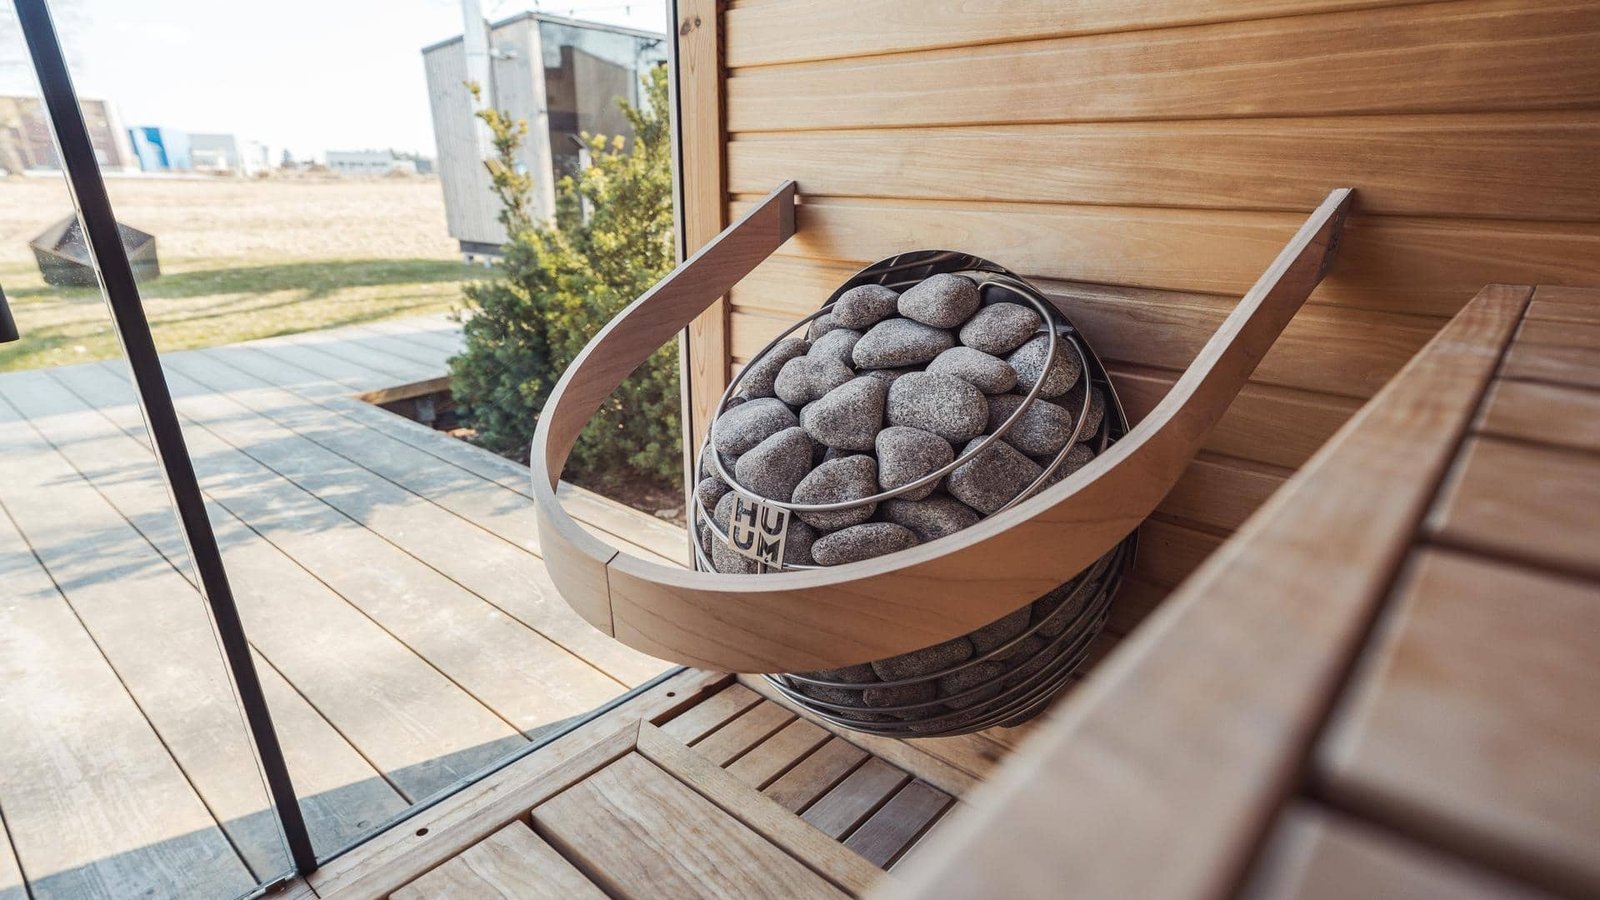
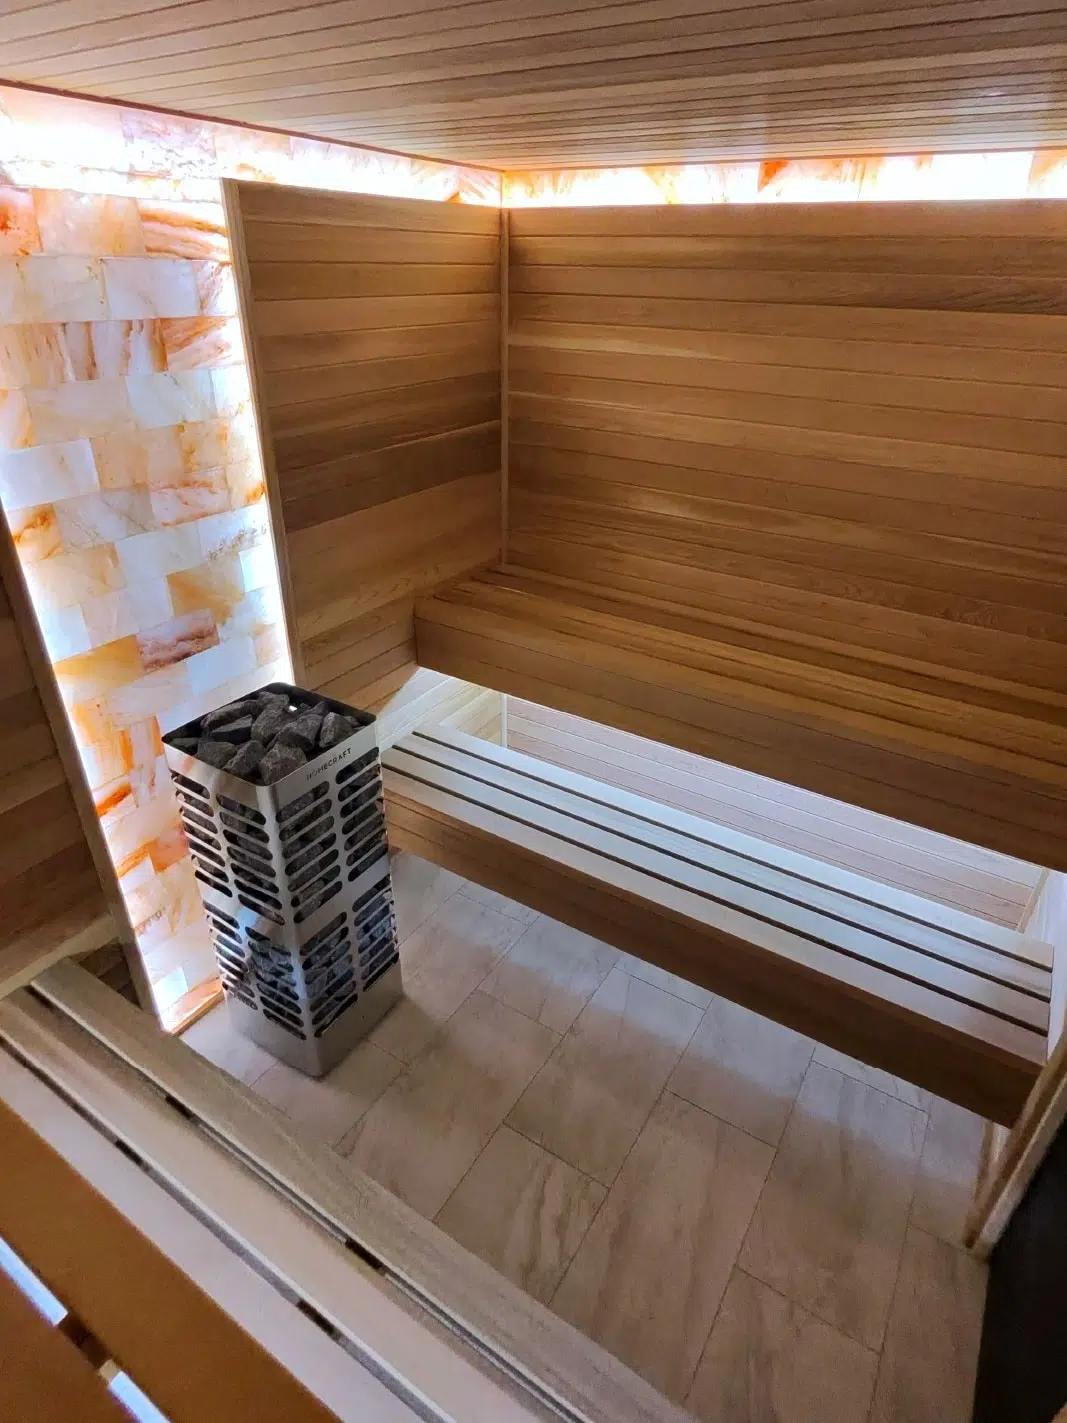
The heater influences more than the shopping list. It affects the layout, electrical planning, ventilation and, for some models, structural backing. Harvia's panelling guidance calls for support behind wall-mounted heaters and bench supports, with wiring planned before the boards go on. Harvia: planning before panelling
Review sauna heater options while the room design is still flexible. Have a qualified electrician assess the exact electric model and controls, or a stove professional assess a wood-fired installation.
Keep model numbers on the plan. “Nine-kilowatt heater” is not detailed enough for an installer to locate components or complete the electrical design.
Specify the wall assembly as a whole
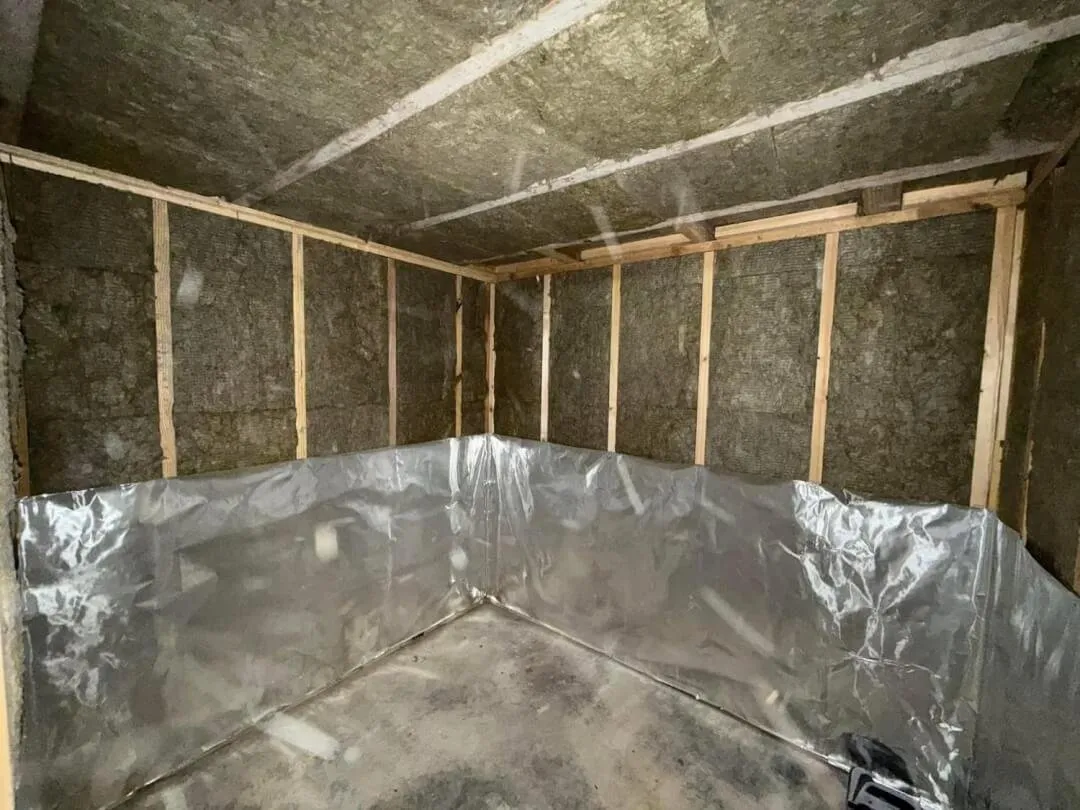
Ask the builder to describe the layers from the existing wall or outdoor structure through to the sauna lining. The plan should explain insulation, vapour control, services and the details around openings.
Homecraft's sauna-build guidance describes foil over the insulated room, taped overlaps and strapping between the foil and cedar. This is useful manufacturer guidance for that style of construction; your builder still needs to resolve the assembly for your particular room. Homecraft: prepping your sauna build
Do not add materials simply because another sauna used them. An existing basement wall, a new framed backyard building and a supplied solid-wood kit can require different decisions.
Confirm lumber quantities and the finish details
Choose the board direction before requesting the final material list. Mark wall lengths, ceiling dimensions, openings, corners and trim. Ask how the supplier has allowed for cutting, board lengths and waste.
Specify bench surfaces and visible wall materials separately if you want different grades or species. For example, you might prefer a more uniform appearance on seating surfaces while accepting a different look on the walls. Make that preference explicit in the quotation.
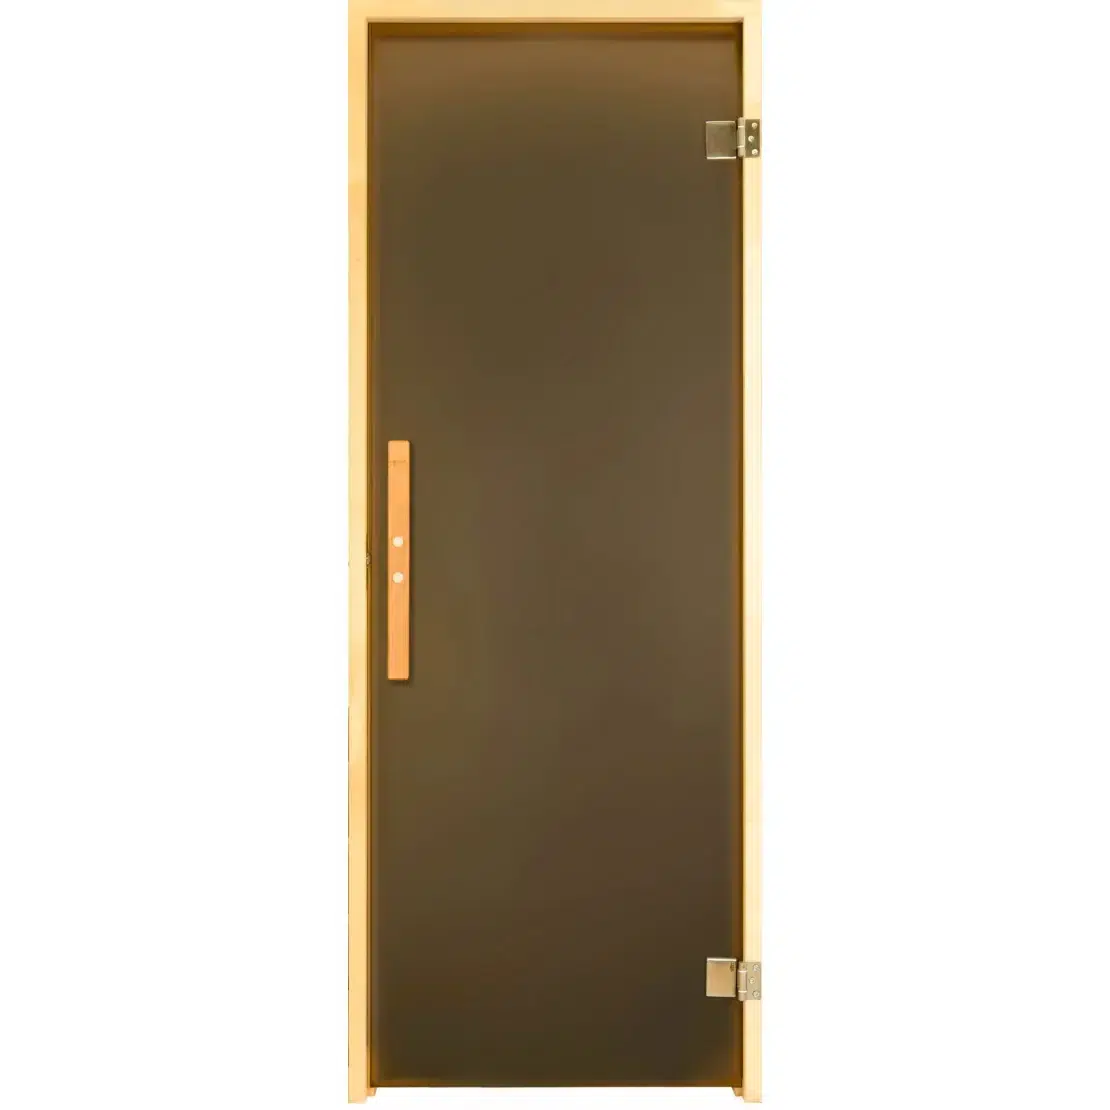
Check the sauna door options before framing the opening. Obtain the correct rough-opening drawing for the selected unit, including jamb depth and handing. Product dimensions and framing dimensions are not necessarily the same.
Schedule the work in a practical order
Confirm the construction and installation responsibilities before delivery. Plan the inspections or trade reviews that must happen before panelling conceals the work. Reserve a dry place for the kit and check how long boards or preassembled pieces will enter the property.
At handover, keep the final drawings, photos of concealed work, product labels and operating instructions together. A small project folder will make future maintenance and replacement decisions easier.
Frequently asked questions
Does a DIY sauna kit include a heater?
It depends on the quotation. ZAPARA's base kit estimator lists heaters as an add-on. Ask for an itemized scope that identifies the heater, controls, stones and installation separately.
Can I use the kit calculator's heater result as the final selection?
Treat an estimate as preliminary. Have the exact room construction, glass and heater model checked before purchase and installation.
Should I order lumber before choosing the door?
Finalize the door and its opening first where possible. That gives the supplier better information for wall boards, trim and the finished layout.
What can I do myself?
Agree on the division of work with your builder and installers. Your skills and the project determine suitable assembly tasks; electrical and combustion-system work need the appropriately qualified local professionals and applicable approvals.
Sources
- Harvia Support. I am about to start panelling my sauna—what do I need to take into account?. Updated January 29, 2026. Accessed September 9, 2026.
- Homecraft Saunas. Prepping your sauna build. Undated. Accessed September 9, 2026.
- ZAPARA. Indoor DIY sauna kits and 3D configurator. Reviewed September 28, 2026.