Sauna floor tiles and mats
Wooden Sauna Floor Tiles: Comfort, Drainage and What to Check Before Buying
Choose wooden sauna floor tiles with a practical plan for drainage, cleaning and door clearance. Compare TESLI thermo wood mat dimensions and fit.
Before you begin
- Plan the underlying floor and drainage separately from removable wooden tiles or mats.
- Measure the walking area and check door movement, transitions, drains and heater requirements.
- Choose an arrangement you can lift and clean, without assuming wood guarantees a slip-free surface.
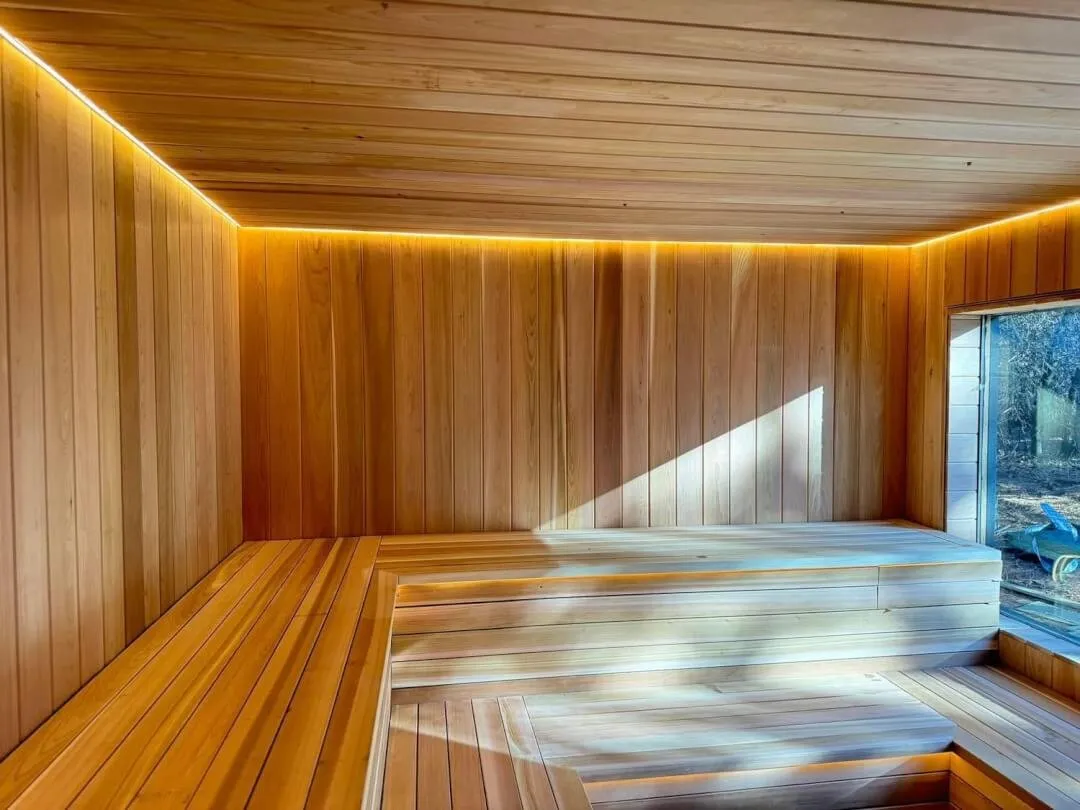
Wooden sauna floor tiles can give a finished floor a more comfortable walking surface and a look that fits the benches. They are also easy to misunderstand. The wood you stand on and the floor assembly underneath have different jobs.
Before ordering, establish whether you are choosing a removable walking surface or designing the complete floor. Decorative timber tiles do not replace a suitable base, waterproofing or drainage where those are required.
Start with the floor underneath
Where does spilled water go? Can the area beneath the tiles be inspected and cleaned? How will the room dry after use? Answer these questions before choosing a wood colour.
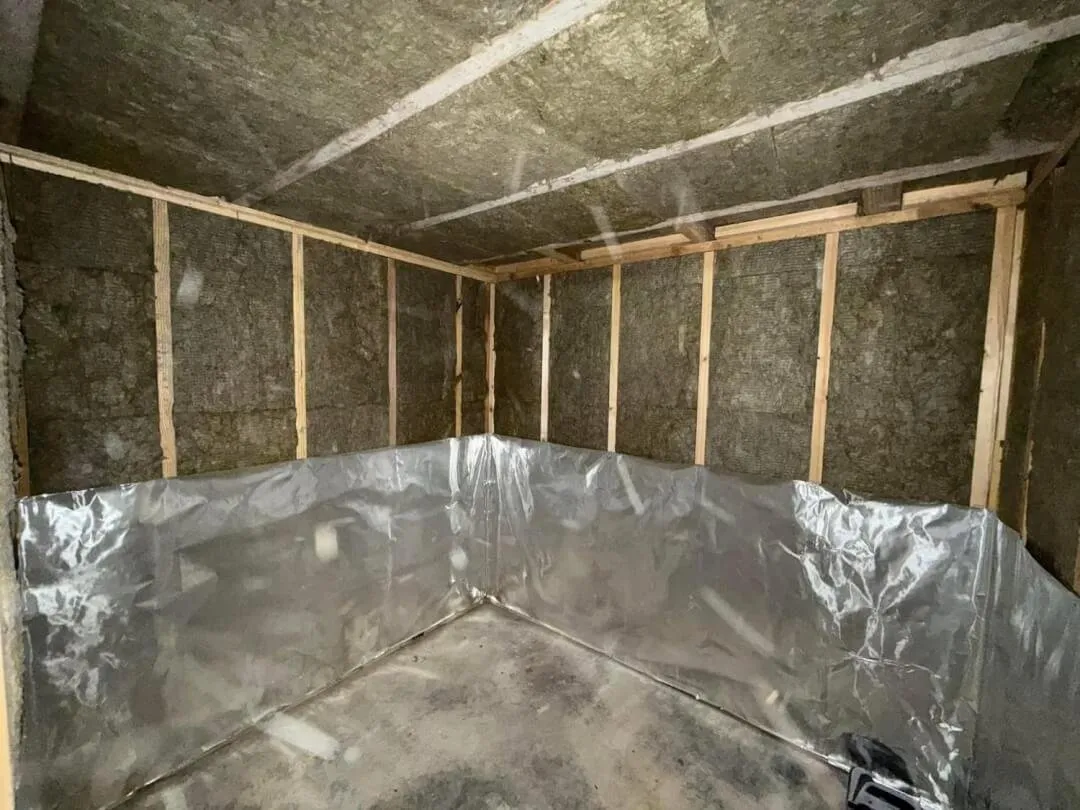
HUUM's sauna construction guidance stresses the importance of properly detailed floor-to-wall junctions and a compatible waterproofing system in wet areas. A surface accessory cannot correct a failed junction hidden underneath it. Ask your builder to resolve the floor assembly as part of the room design. HUUM guide to moisture-resistant sauna construction.
For an existing sauna, lift any loose mat and look at the floor before adding another covering. Persistent moisture, a loose finish or an unexplained musty smell warrants investigation. Covering the area makes it harder to see whether the problem continues.
Measure the walking area, not only the room
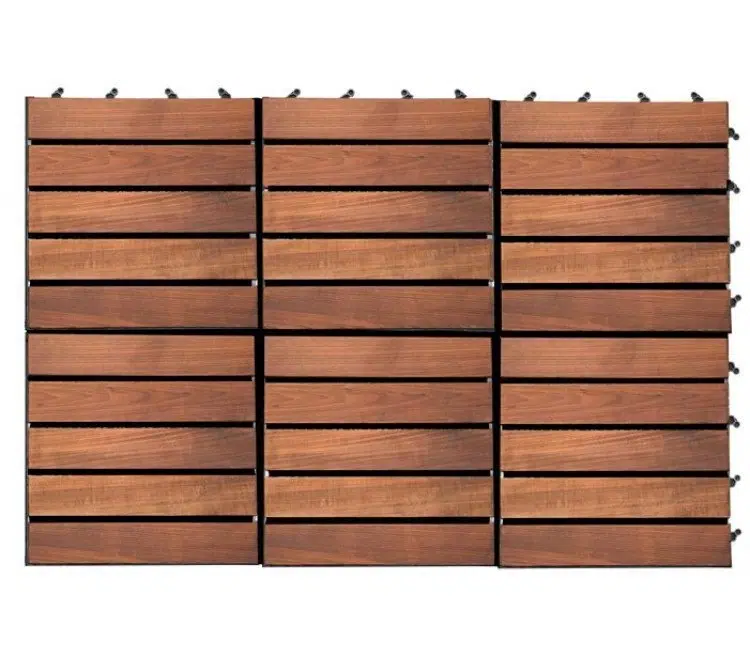
ZAPARA's sauna floor tiles collection includes TESLI thermo softwood and thermo ash mats. TESLI's official specifications list both formats at 330 × 330 mm and 25 mm high. Those dimensions are a useful starting point for a layout drawing. TESLI thermo softwood decking and thermo ash decking.
Measure the usable area around bench legs, heater boundaries, door swings and drains. The full room area may include places where a mat would be inaccessible, unsuitable or unnecessary.
For a simple illustration, two 330 mm tiles span 660 mm before allowing for connectors, gaps or edge details. Three span 990 mm. Sketch the arrangement in millimetres, then confirm how the actual product joins and whether the supplied system changes its installed dimensions. Do not assume a neat mathematical fit means the pieces can be installed exactly that way.
The 25 mm height also deserves attention at the doorway. Check the transition from the adjacent floor, door clearance and any exposed edge. A new walking surface should not create a lip that people catch with their toes.
Compare construction and maintenance access
The TESLI thermo ash sauna floor mat and thermo softwood mat offer different wood choices. Examine the slat spacing, underside supports, fastening system and finish as well as the top surface.
Ask whether sections can be lifted after installation and how the manufacturer permits trimming. Cut edges may need attention, and cutting through a connector or support can change how the tile sits. Resolve that detail before buying a quantity based on full coverage.
Heat treatment is not a reason to stop cleaning or checking the wood. It also does not establish a tested slip rating for a particular installed surface. Water, cleaning residue, movement and uneven support still matter. Keep the mat stable and deal with splinters, damaged fixings or a slick surface before using it again.
Plan a cleaning routine you can actually follow
A practical layout makes it straightforward to remove debris and inspect the underlying floor. Avoid creating a tightly fitted arrangement that requires taking apart furniture every time you need to clean beneath it.
Follow the tile maker's cleaning and drying instructions, and use only treatments approved for that surface and location. A finish intended for an exterior deck or sauna wall is not automatically suitable under bare feet.
For a cottage sauna, decide where removable pieces will be stored when the building is closed for a long period. Check the room after reopening before putting the floor coverings back in service.
Frequently asked questions
Do wooden sauna tiles waterproof the floor?
No. They are a walking surface. The underlying floor and its junctions need their own appropriate moisture protection.
Are thermo wood mats guaranteed not to slip?
Do not assume that from the material name. Ask about product testing and installation requirements, and maintain a clean, stable surface.
Can I place them directly under a wood-burning stove?
Follow the stove's floor-protection instructions. Timber tiles are not a substitute for required non-combustible protection or a specified heater base.
How many tiles should I buy?
Prepare a measured layout that includes obstructions, joints and edges. Confirm trimming and connector details before adding an allowance for cuts or spares.
Sources
- TESLI. Thermal softwood floor decking. Official manufacturer dimensions and material specification; undated. Accessed September 9, 2026.
- TESLI. Decking thermoash. Official manufacturer dimensions and material specification; undated. Accessed September 9, 2026.
- HUUM / Arden Arroval. How to Build a Moisture-resistant and Durable Sauna Room. May 25, 2026. Accessed September 9, 2026.