Wood-burning sauna stoves
What Size Wood-Burning Sauna Stove Do You Need?
Find the right wood-burning sauna stove size using room volume, glass, construction and installation space. Includes a Harvia sizing example.
Before you begin
- Measure the hot room and account for glass and wall construction using the stove manufacturer’s guidance.
- Compare the adjusted room volume with both ends of the stove’s permitted range.
- Check clearances, chimney routing and firewood loading access before choosing the final stove.
A wood-burning sauna stove has to suit two spaces: the room it heats and the space available around it. A model can have enough heating capacity and still be wrong for a room because its installation leaves too little space for benches, a safe doorway or loading firewood.
Start with the finished sauna dimensions, then check the room construction, the manufacturer's permitted volume range and the complete installation layout. The stove's kilowatt rating is useful information, but it is only one part of the decision.
Measure the hot room, not the whole building
Measure the interior length, width and ceiling height after allowing for the finished wall and ceiling build-up. Multiply them together:
Length × width × height = sauna room volume.
For example, an illustrative room measuring 2.0 × 2.2 × 2.1 metres has a geometric volume of 9.24 m³, or approximately 326 ft³. Those are two ways to express the same room volume; do not multiply measurements in feet and compare the result with a table in cubic metres.
Use the hot room dimensions. A changing room is a separate space, even if the stove loads from that side of the wall. If you have a barrel, sloping ceiling or irregular layout, provide a drawing so the supplier can calculate the actual shape. A rectangular bounding box may overstate the interior volume.
Account for glass and the wall construction
Geometric volume is the starting point. For the stove models covered by Harvia's Y05-0109-1 manual, each square metre of non-insulated wall or ceiling surface adds 1.2 m³ to the sizing volume. The manual gives a separate multiplier for massive-log construction. Use the method applicable to your exact room and model. Harvia wood-burning stove instructions, p. 25
Make a separate list of the glass door, windows, exposed masonry and wall assembly. Include the dimensions of each relevant surface. Ask the stove supplier to apply the sizing guidance for the model under consideration; do not borrow an adjustment formula from a different heater brand.
For example, applying that surface adjustment to our insulated 9.24 m³ room with 1.5 m² of glass gives 9.24 + (1.5 × 1.2) = 11.04 m³, approximately 390 ft³. This illustrates Harvia's calculation; it is not a final installation recommendation.
Read the whole permitted volume range
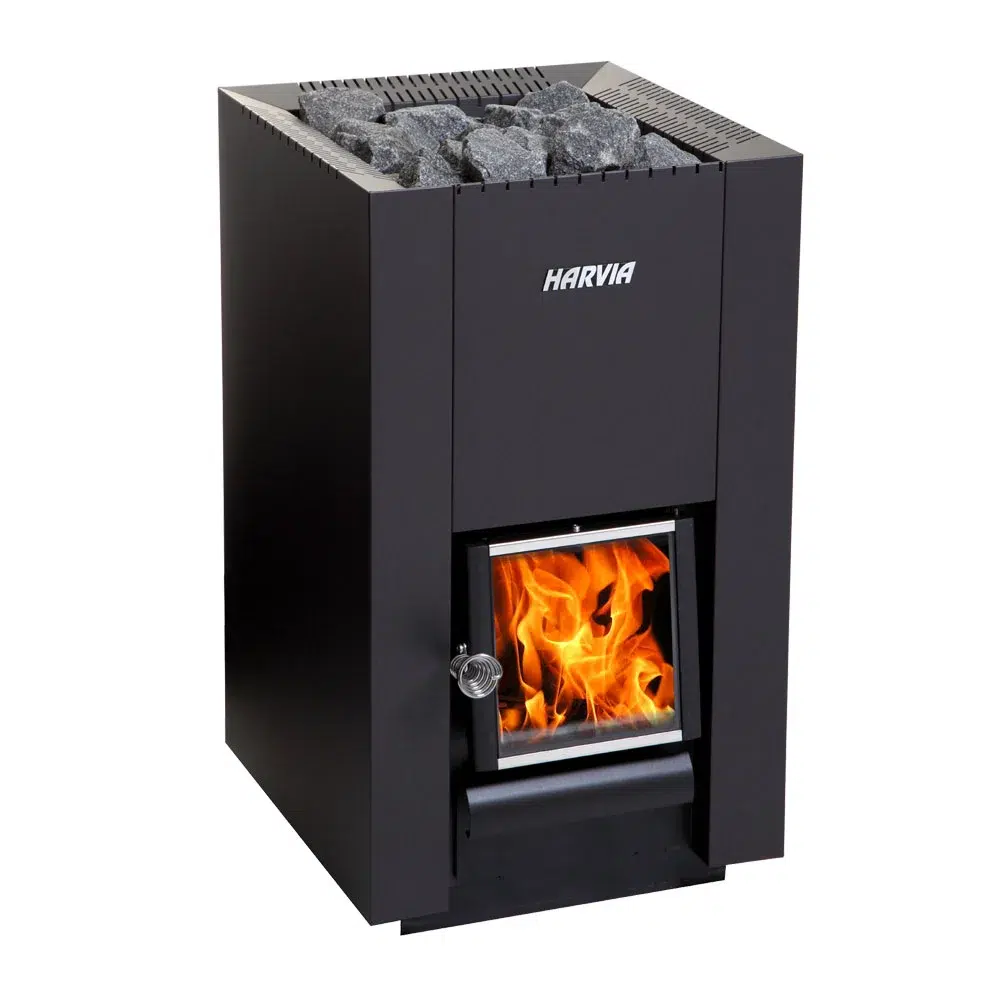
Manufacturers commonly give a minimum and maximum room volume. Both deserve attention. Harvia lists the M3, product code WKM3, for 6–13 m³, approximately 212–459 ft³. The illustrative adjusted room above falls within that range, making the M3 a candidate for further review. Clearances, chimney compatibility and suitability for your Canadian installation still need confirmation. Harvia M3 specifications
If the adjusted volume lies near a model’s limit, send the full room specification for review before choosing a size.
When reviewing Harvia wood-burning sauna stoves, use the listed room ranges to build a shortlist. Then verify the exact model and regional documentation before ordering.
Draw the installation before choosing the finish
On a floor plan, mark the stove body, required clearances, heater guard where specified, loading space and chimney route. Add the benches and the door swing. Make sure someone can enter, sit down and leave without squeezing through the heating area.
A cardboard outline on the floor can help you picture the layout, although the installer must confirm the actual dimensions. Draw the clearances as well as the stove itself: the product's width is not its complete space requirement.
Also identify the floor construction and the total installed load. Stones, protective components and the chimney arrangement all belong in the planning conversation. Have the installer confirm the support and protection required for your chosen combination.
Decide where you want to load the firewood
Inside loading keeps the fire visible and accessible from the hot room. Loading through an adjacent room changes the layout and the way you manage wood, ash and access. It also requires a model designed for that installation.
Imagine carrying wood to the sauna in February. Where will the supply stay dry? Where will you stand to reload? Does the doorway remain clear? These practical questions can eliminate an unsuitable design before you spend time comparing finishes.
The ZAPARA wood-burning stove collection includes different loading concepts. Request the instructions for the exact model and configuration when discussing your room.
Put fuel and maintenance into the decision
Wood heating includes regular preparation and cleaning. Health Canada recommends dry, seasoned wood and regular stove and chimney maintenance; painted, treated or glued wood should not be used as fuel. Health Canada: wood smoke
For a useful sizing review, send ZAPARA the finished dimensions, wall construction, glass areas, desired loading side and a floor-plan sketch. Use the sauna heater manual library to identify the relevant documentation, and have the proposed Canadian installation checked by a qualified local stove and chimney professional.
Frequently asked questions
Can I choose a wood stove using square footage alone?
No. Ceiling height changes room volume, and the wall construction and glass also matter. Provide three interior dimensions and a description of the room materials.
Is a larger wood-burning sauna stove always better?
No. Check the manufacturer's minimum as well as maximum room size. More capacity does not remove the need for a suitable installation layout and an appropriate match to the room.
Does a large window mean I need the next stove size?
It means the sizing calculation needs review. Whether the model changes depends on the glazing, the complete room and the manufacturer's guidance. Avoid making the decision from glass area alone.
Can the chimney be chosen after the stove arrives?
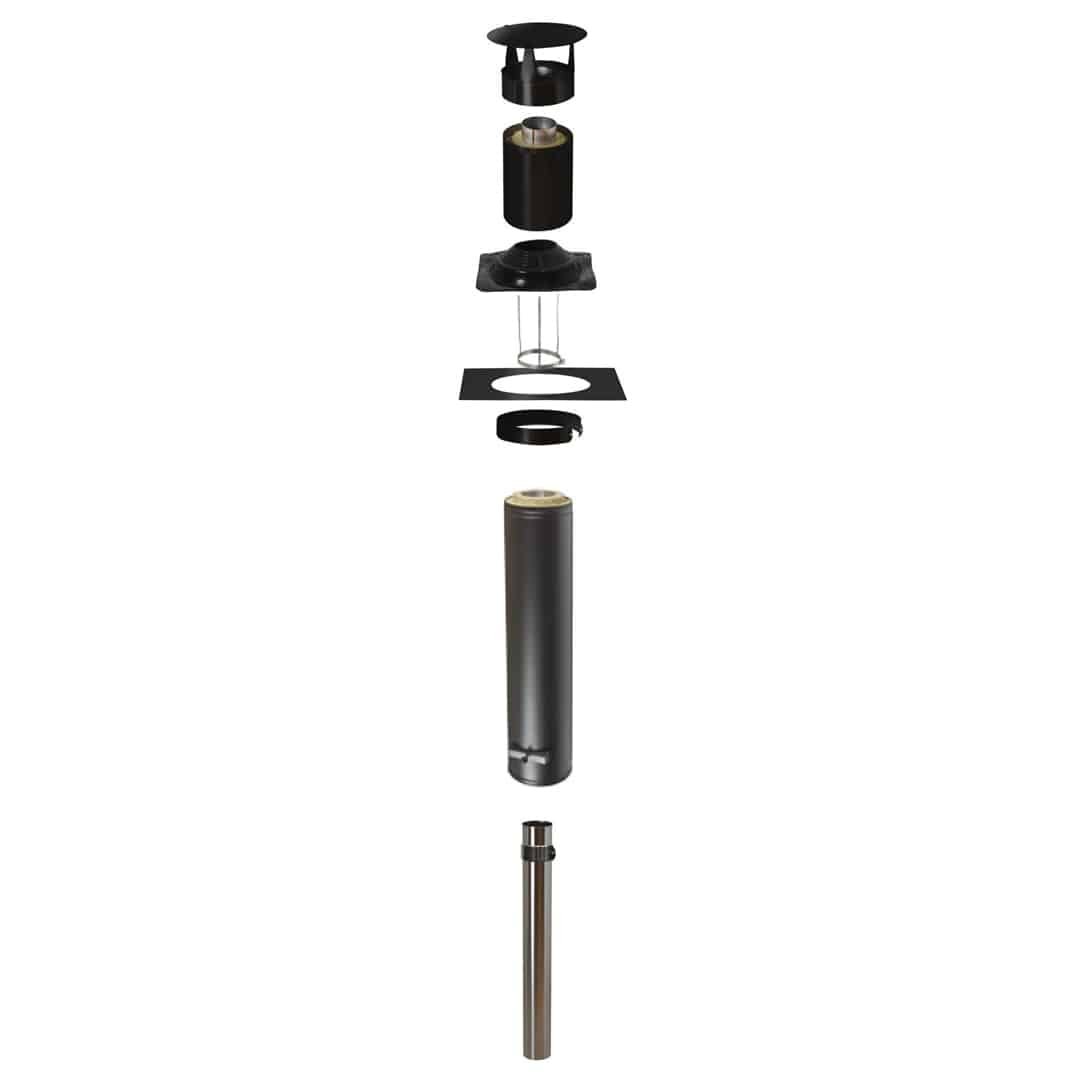
It should be planned before purchase. Ask the installer to confirm the complete compatible system, its route and installation requirements while you are still comparing stoves.
Sources
- Harvia. Wood-burning stove installation and use instructions, Y05-0109-1, September 2025 file revision, pp. 22 and 25. Current manufacturer-linked file accessed September 9, 2026. Used for model sizing; not as evidence of Canadian installation approval.
- Harvia. M3 black, WKM3 specifications. Undated. Accessed September 9, 2026.
- Health Canada. Wood smoke. November 21, 2025. Accessed September 9, 2026.